I put together a detailed guide to bannetons a while ago and I wanted to do the same also for bread baking tins. It’s often difficult to know what baking tools to get when starting out in bread baking and these guides to baking equipment are aimed to help along the journey.
My guide to choosing the right bread tins
I’ve tried to include answers to the various questions I’ve been asked about tins over the years, so here we go.
Advantages/disadvantages of bread tin baking
- Bread tins give your bread loaf a predefined shape – so if you are looking to bake a loaf for making square sandwiches, then a bread baking tin is the way to achieve this.
- Baking in tins is less fuss and more straight-forward than free-form or banneton-based baking and often, if I’m strapped for time, I will choose to bake in a tin rather than with a banneton or free-form.
- If you are just starting out, it’s much easier to bake in tins and it’s also much easier to see how much your loaf has risen, so it would be my recommendation to bake in a tin before you bake using a banneton. If you want a bread that’s guaranteed to hold its shape, bake in a tin!
- Your loaf may stick in the tin if you are using a low quality or damaged tin and you might damage its shape while trying to get it out. However, simply use a non-stick tin and grease your tin in order to get around this.
Types and materials of bread baking tins
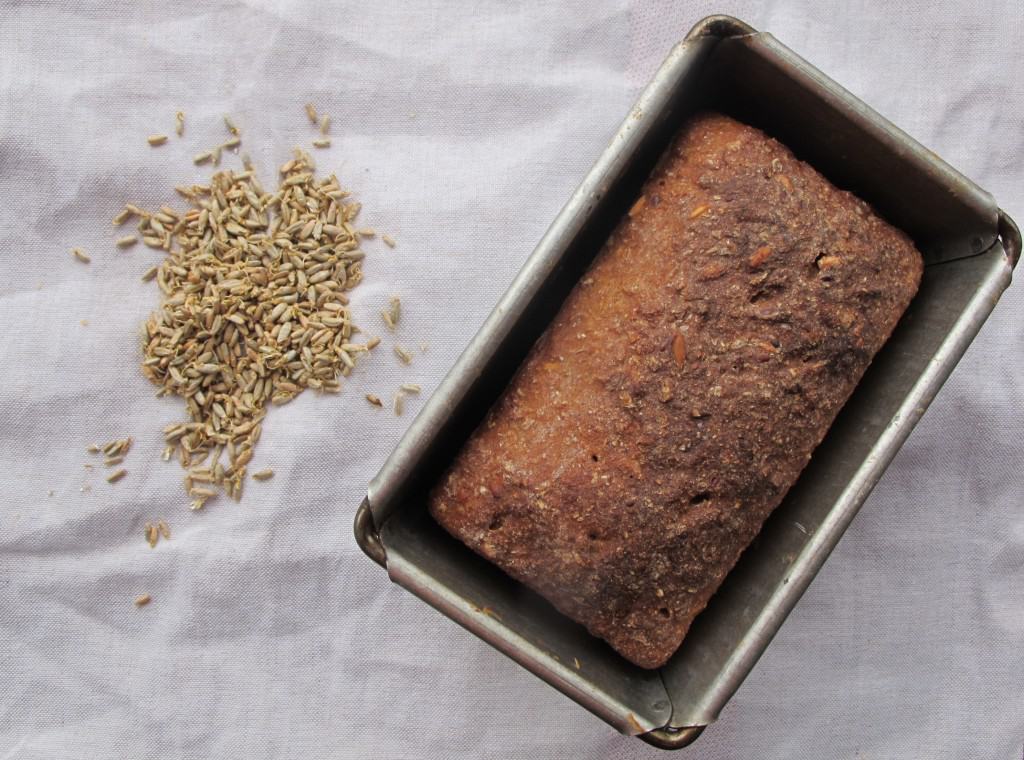
The most basic thing to look out for is that you buy a bread and not a cake tin. The best baking tins for bread baking have steep, nearly straight sides, are relatively narrow and have folded ends. This will support the rise of your loaf well. Please note that cake tins usually have slanted sides, can be quite wide and are usually made from lighter material than bread tins. High-quality loaf pans cook your baked goods evenly, release them with little fuss, and are therefore made of heavy-duty materials.
There is no reason why robustly constructed, professional bread tins shouldn’t also be used by home bakers. The better the bread tin, the better the bake.
- Non-stick metal bread tins – Metal bread tins made from aluminised steel are best for baking bread. I use the bread tin supplier brand USA Pan, which comes with an eco-friendly, PFOA- and PTFE-free silicone coating which has good non-stick properties.
- Metal bread tins with lids – Using a slide-on lid for baking bread in tins is an excellent way for making square sandwich bread loaves. So-called ‘Pullman loaf tins’ (i.e. tins with slide-on lids) are also essential when baking Pumpernickel bread.
- Glass bread tins – Glass bread tins unfortunately don’t make great metal bread tin substitutes. Glass conducts heat extremely well and sweeter breads which contain more sugar might therefore start to burn before being cooked all the way through. However, you can use a glass tin well for making bread pudding.
- Silicone loaf tins – Bread will never stick in a silicone loaf tin such as the Lékué bread baker. However, it will also not brown very well as silicone is a poor heat conductor.
- Ceramic loaf tins – Ceramic is like glass: it conducts heat very well, but can cause over-browning in sweet dishes. The biggest advantage of using a ceramic tin as a metal bread tin alternative is that your breads will look pretty e.g. if you are baking a bread gift!
Problem shooting
“If you do experience any tendency for the dough to stick, use a very thin film of fat or oil just to be on the safe side. Although oils such as sunflower and olive work perfectly well, they inevitably run down the sides of the tin and can leave a bit of a puddle in the bottom which can ‘fry’ the base of the loaf. Fats such as butter or lard that are hard at room temperature avoid this problem in that they can be smeared evenly over the sides and bottom of the tin – and they will stay put until the dough is in the tin.
Never use a metal knife or other hard implement to help reluctant loaves out of the tin. If they don’t slide out easily, tap the side of the tin with your (oven-gloved) hand or on a pad (e.g. a folded tea towel) on the table. If this doesn’t work, leave the loaves for a few minutes to ‘sweat’: the residual steam coming out of the loaf will condense on the inside surfaces of the tin and often has the effect of dissolving any sticking points.” Expert from the most knowledgeable of bread gurus at Bread Matters
Bread tin sizes
There’s a large variety of loaf tin sizes and bread tin dimensions available and it’s best to check for dough volume on an individual tin basis. Bread tin measurements and related loaf tin capacity will typically be stated in the product description.
Bread tin cleaning
Don’t use washing up liquid on your non-stick metal bread tins. Instead, wipe up any residue of flour or dough left in the tin after baking with a damp cloth. For tougher dough bits stuck to the tin, soak the tin in warm water and it should come away easily. Never use anything that may damage the non-stick surface of the bread tin. Never use any metal tools to scrape dough bits off. I use a soft sponge if needed.
Loaf tin storage
Loaf tins are great for stacking. However, don’t be tempted to simply stack tins inside each other without putting some paper or cloth between them. I use thin muslin cloths in between the tins to prevent the non-stick glaze being scratched.