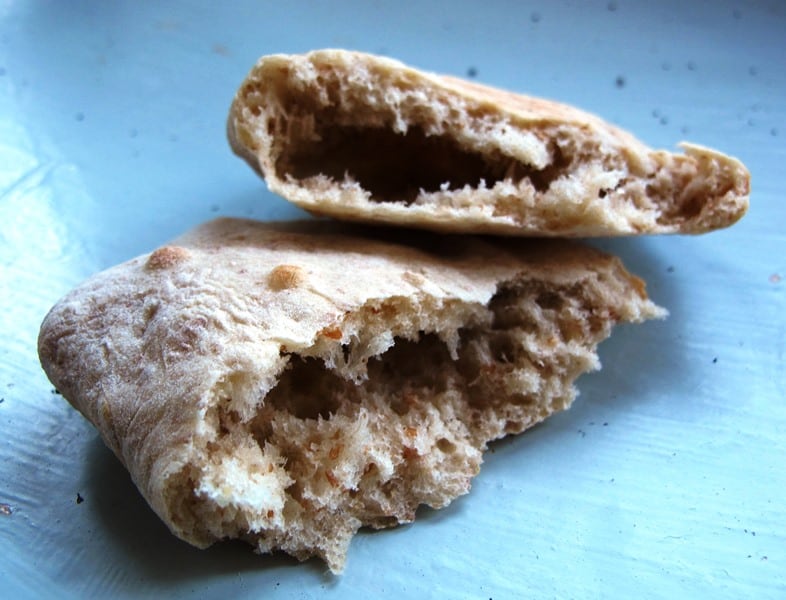
It’s amazingly quick and easy to make great home-baked pita breads. Very few ingredients are needed to bake these lovely round/oval flatbreads and the delightful ‘pocket’ is simply created by steam puffing up the dough when exposed to a high temperature. Preparing the dough is very straightforward and you can choose to refrigerate part of it for the next day or later in the week.

It’s the pocket that makes pita bread so very practical and versatile. Here are some ideas for filling, dipping and wrapping.
- Serve with any meze platter
- Scoop up hummus and baba ghanoush
- Wrap around kebabs, shawarmas and falafel
- Fill with souvlaki, tzatziki… anything Middle Eastern, North African, Greek and Turkish will work a treat – add french fries if you feel naughty!
- Cut the pitas into wedges, brush with olive oil and toast to make pita chips or croutons
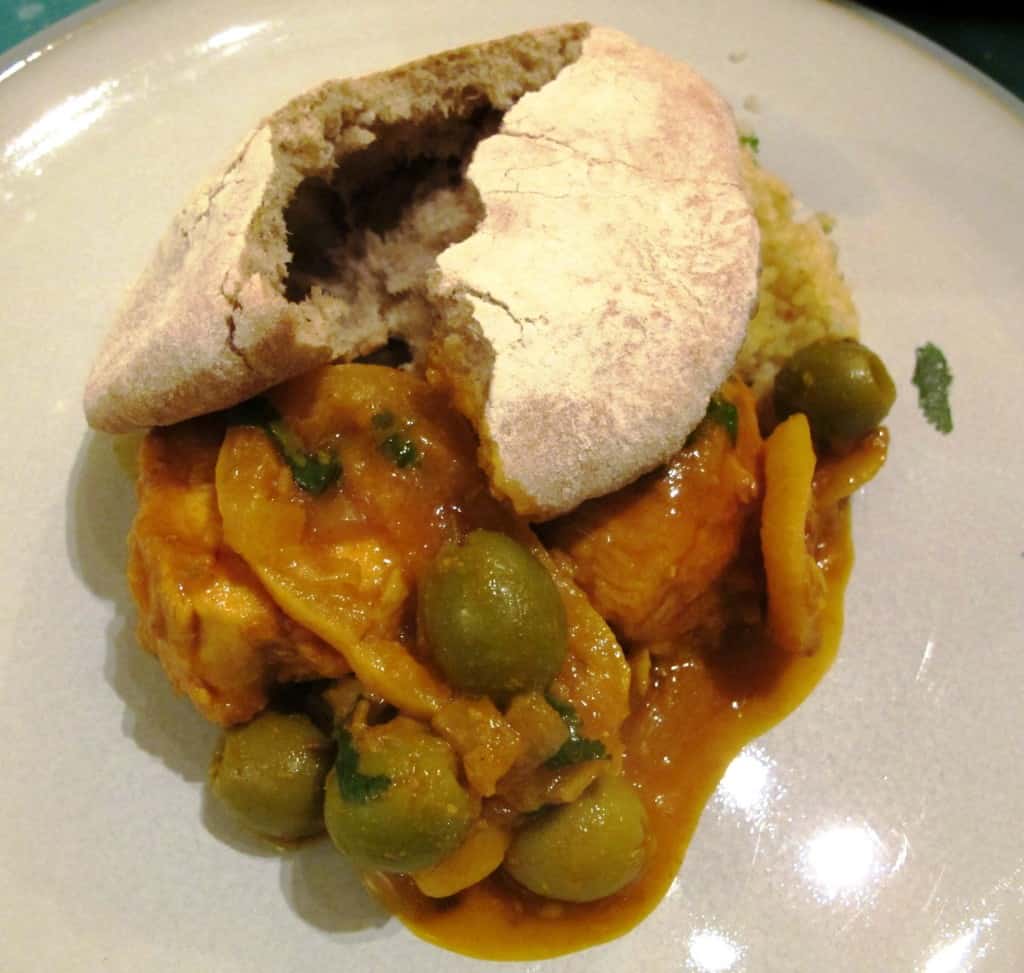
- Soak up the goodness of this tasty Moroccan-style chicken casserole
Ingredients (Makes 10 – 12)
- 300g white bread flour
- 150g wholemeal wheat flour (using wholemeal flour will give the pita breads a hearty taste)
- 1 sachet of dry yeast (7g)
- 1 ¼ tsp salt
- 1 tbsp honey
- 1 tbsp olive oil or rapeseed oil
- 300 ml water, lukewarm
How to make pita breads
- Dissolve the honey in the tepid water.
- Combine all ingredients (except the oil) in a large bowl until the dough comes together and you can form a rough ball. Add the oil towards the end and a little more water if not all of the flour can be picked up.
- Place the dough on a clean work surface and knead until it is smooth and elastic, about 10 minutes.
- Lightly oil the large bowl you used earlier by spreading a glug of oil with a kitchen brush.
- Put the dough back into the bowl.
- Cover and let rise in a warm spot until it has doubled in size, approximately 2 hours.
- Deflate the dough to release the trapped gases.
- Once risen and punched down, you can refrigerate the pita dough until it is needed – it will keep in the fridge for about a week.
- Shape the dough into a 25cm long log.
- Divide the log into 10-12 pieces and shape each piece into a ball.
- Dust the balls with flour, cover with a tea towel and leave to rest for 20 minutes (you’ll be able to shape the dough much easier after this time).
- Meanwhile, preheat the oven to 250º – the highest setting you have. If you are not using a baking stone, leave the baking tray in the oven to heat up and make sure it is placed near the bottom of the oven.
- Roll each dough ball into a 15cm circle, about 6mm in thickness.
- Bake until the pitas puff up, have lightly browned and fully ballooned, circa 4-5 minutes. Don’t overbake them as they should come out still soft, not with a hardened shell. If they don’t puff, the oven/baking tray isn’t hot enough. Don’t throw out pitas without pockets – they are still delicious disks of goodness and great dipping material.
- Turn over and bake for another minute.
- I usually bake about 4 – 6 pitas at a time, removing the baked pitas with a spatula before placing the new dough disks on the baking sheet.
- Cool for a minute or two; the puffed up pitas will collapse and flatten as they cool. Pita breads are best eaten when still warm. Alternatively, store in freezer bags at room temperature for up to 5 days.